Setup
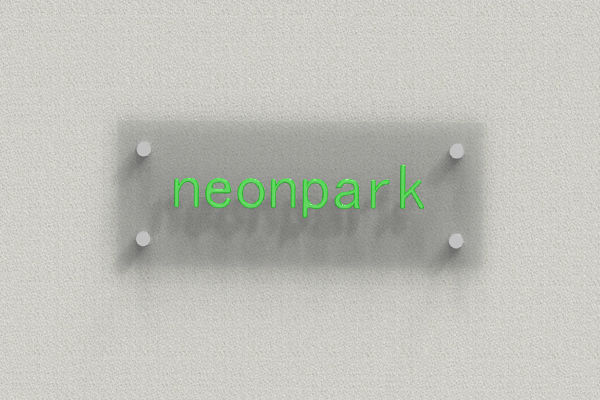
One of the advantages of LED neon signs is their ease of installation.
You can also install it yourself.
Wall Mounted
-
 1
1Positioning
Press the neon sign against the wall and mark the location of the holes with a pen.
-
 2
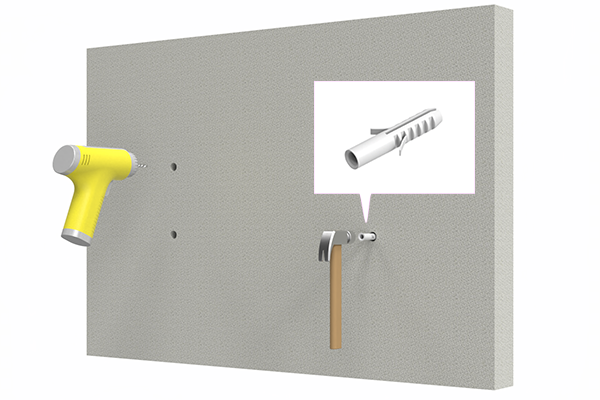
2Drilling
Use an electric drill to drill a hole at the mark and insert the plug into the hole.
-
 3
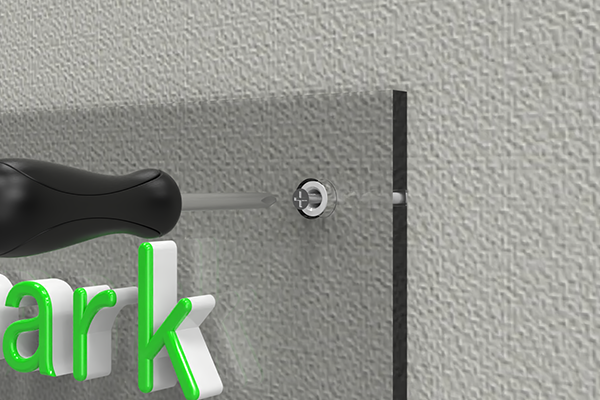
3Screw fixing
Fix the screws from above the acrylic bottom plate.
-
 4
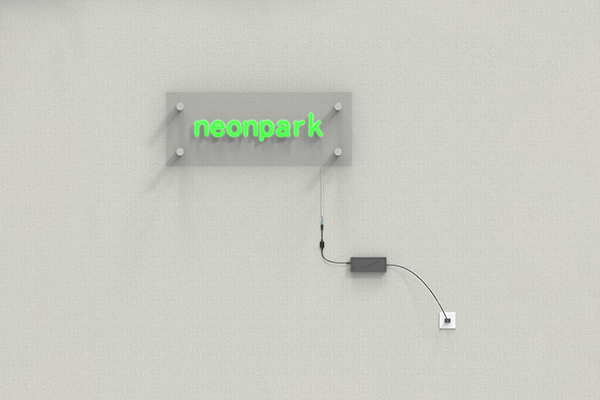
4Connect to transformer
Connect the neon sign to the transformer and it will light up. (Completed)


Wall Mounting (Optional)
-
 #
#Use of decorative screws
If you do not want the acrylic base plate to be in close contact with the wall, or if you want the screws to be displayed neatly, use decorative screws (purchased separately).
-
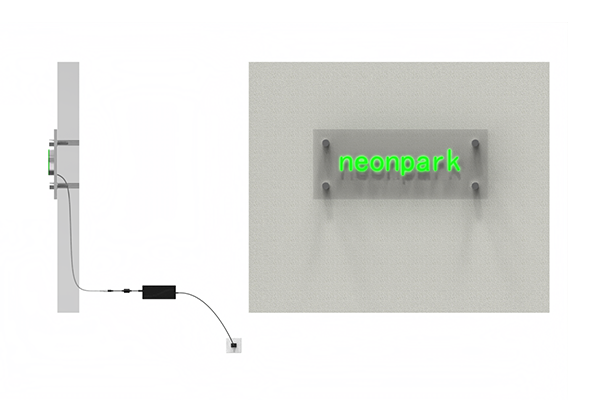 #
#Hide the code
Hiding the power cord and transformer in the wall results in a neat installation with no visible cords.


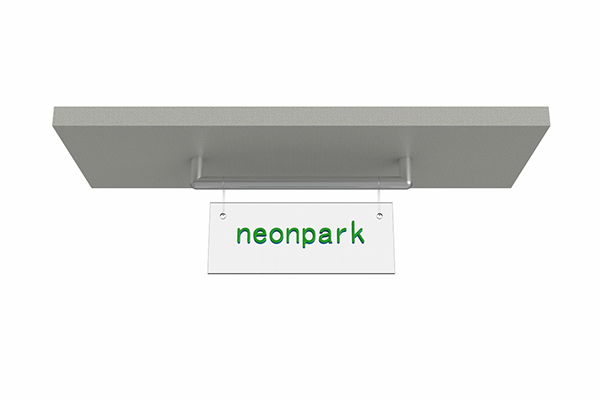
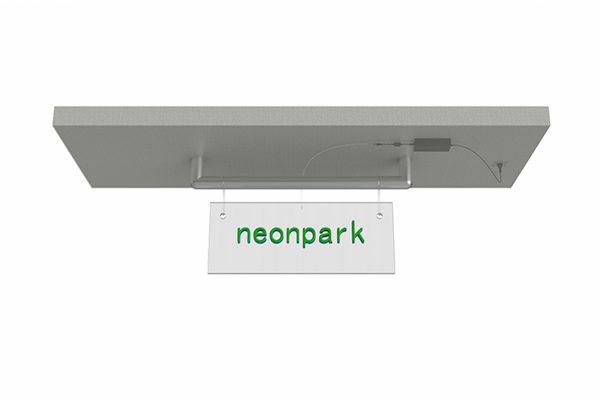
Hanging installation
-
 1
1Fixing to ceiling or pillar
Pass the wire through the screw openings in the neon sign and secure it to the ceiling or pillar.
-
 2
2Fixing the transformer
The transformer is fixed to the ceiling or installed concealed in the attic.


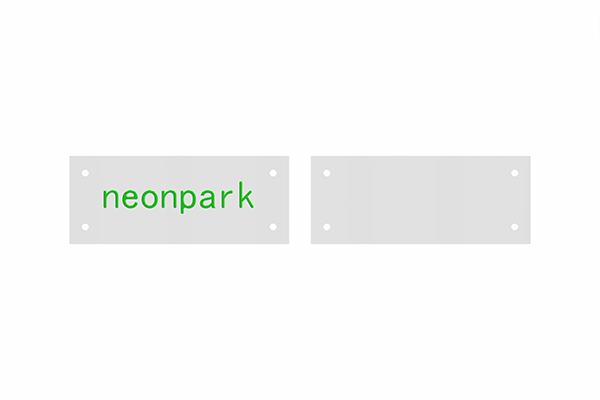
Freestanding stand type installation
-
 1
1Preparation of acrylic sheets
Prepare an acrylic plate of the same size as the acrylic base plate of the neon sign. (Optional when ordering)
-
 2
2Fixing acrylic panels
Use decorative screws to secure the front and back of the acrylic plate.
-
3
Transformer Connection
Connect the transformer and install it freestanding.


調光機
調光機とはネオンサインの明るさを調整できる装置です。本機器の機種によりねじるタイプとリモコンタイプの2種類があります。

キャプション
説明文
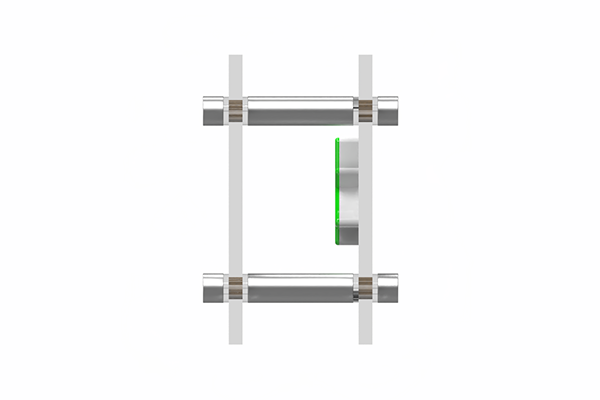
①ねじるタイプ:つまみを回して調整できるタイプです。微妙な明るさ調整が感覚的に操作できます。接続端子がシンプルで組み立て時に電源入力側を電源アダプタに、LED出力側をサイネージ側に接続して使用します。電池交換などの手間がありません。
調光機の設置方法


